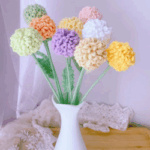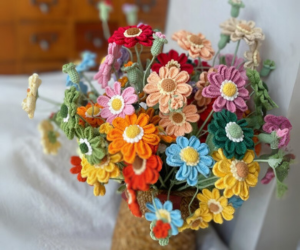
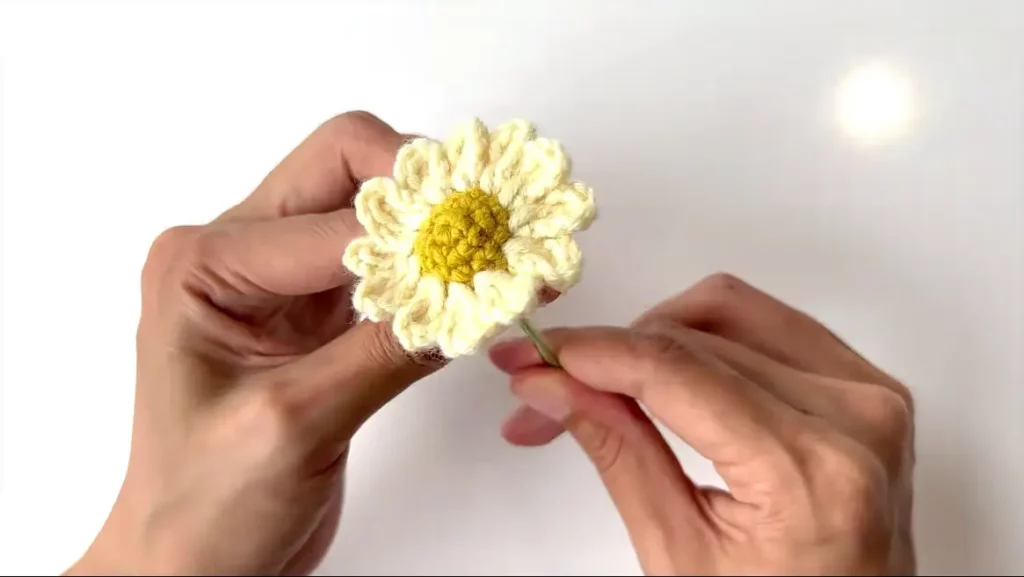
How to Crochet Daisy Flower
Copyright and Attribution
At uaiamigurumi.com, we respect and value the work of content creators. Therefore, this post offers a detailed tutorial on how to crochet a daisy flower, which is perfect for advanced intermediate crocheters. Additionally, this tutorial provides important details about the flower project, enabling crocheters to follow along with ease. As you progress through the steps, you’ll find that the instructions are designed to guide you actively, helping you create beautiful designs efficiently. The pattern is sourced from Hookok.
Materials Needed:
- Yarn: Yarn of three colors – cream, green, and custard yellow
- Hook: 2/2.5 mm
- Flower Rod: 16 inches long x 0.08 inches diameter (40cm x 2mm)
- Iron Wire: 0.4mm or 0.5mm diameter
- Stitch Marker
- Darning Needle
- Pair of Scissors
- Polyfill
- Hot Melt Adhesive
Difficulty: Advanced Intermediate

Stitches and Abbreviations:
- Double crochet – dc
- Half double crochet – hdc
- Single crochet – sc
- Slip stitch – ss
- Treble crochet – tr
- ch – chain
- st – stitch
Pattern Notes:
The pattern is written in US terminology. To ensure you do not miss your starting point, place a stitch marker at the beginning of each round.
Step-by-Step Crochet Daisy Flower Pattern:
Daisy Flower Stamen (Make One Light Yellow and One Green):
- Begin with a magic ring, then ch1.
- R1: Work 6 sc in the magic ring, followed by 1 ss. (6)
- R2: Ch1, then (2 sc in the next stitch) *6 times, followed by 1 ss. (12)
- R3: Sc 12, then finish with 1 ss. (12)
Adding Wire to Daisy Stamen:
- Step 1: First, fold the iron wire in half.
- Step 2: Next, pick a piece of scrap yarn and tie it over the wire.
Join the Two Stamen:
- Step 3: Insert the wire through the green stamen facing up, with the folded part and the scrap yarn resting inside the cup. Pull the tail through the center. Then, place the yellow stamen over the green, covering the scrap yarn, and ensure they are perfectly aligned.
- Step 4: Starting at any point, insert the hook through both stamen and join cream yarn.
Notes: For more details, watch the video.
Daisy Flower Petals:
- R1: (ch4 of the chain, 1 tr, then ch 4, ss 1 into the next st) *12 times; 12 petals in total. Cut and weave in ends.
Note: When the petals are hooked to the 10th flower petals, the stem can be assembled first, or some filling cotton can be added before the petals are hooked and sewn together.
Make Two Daisy Flower Buds:
Begin by using the white yarn to make a magic ring, then ch3.
- R1: Work 9dc into the magic ring, close the ring, ss, and cut the yarn, leaving two tails. (9)
- R2: Join the green yarn, ch2, then hdc 9, followed by ss.
Closing the Bud:
- R3: Ch1, then (1sc, sc2tog) *3 times, cut and leave a tail.
Add Wire (See Steps 1 and 2 Under the Stamen):
Insert the tip into the bud, tucking in all the tails and leaving only the green tail visible. Use a darning needle through the back loops to close the opening tightly and weave in the ends.
Make Two Daisy Leaves:
Start by using the green yarn to ch13.
- R1: Begin at the 2nd stitch from the hook, add iron wire, then sc11, followed by 3 sc in the last stitch. Do not turn; instead, work on the other side of the chain, sc11, then ss.
- R2: Ch1, then (sc2tog, ch2, 1 ss into the base of the same stitch, 1 ss in the next stitch, 1 ch) *12 times, followed by 1 ss.
How to Assemble Daisy Flower with a Long Stem:

Notes: Watch the video for more details. Following are detailed steps:
- Step 1: Align the two buds and the first flower together on the rod, wrap the yarn for about an inch.
- Step 2: Align the second and the third flower, continue wrapping. When joining the flowers, ensure they are aligned on opposite sides for aesthetics.
- Step 3: Then wrap down and add leaves to the right positions.
- Step 4: Until the end of the rod and use hot melt adhesive to attach the yarn ends.

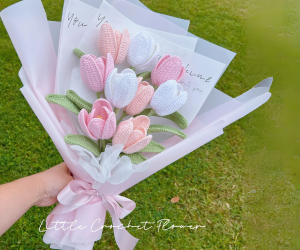
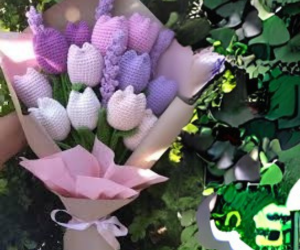
Afterthought: We hope you will love our crochet daisy pattern and make some great daisy flowers. Next, you can try to explore more color options or further crochet some of the other flowers including rose, lavender, and some of your favorite flowers to make a lovely crochet bouquet.
Subscribe to uaiamigurumi! Get updates on the latest posts and more from uaiamigurumi straight to your inbox. I agree to my personal data being used for interest-based advertising as outlined in the Privacy Notice. Subscribe